


JUNE SALE | 15% Off Downpipes | Use code DOWNPIPE15
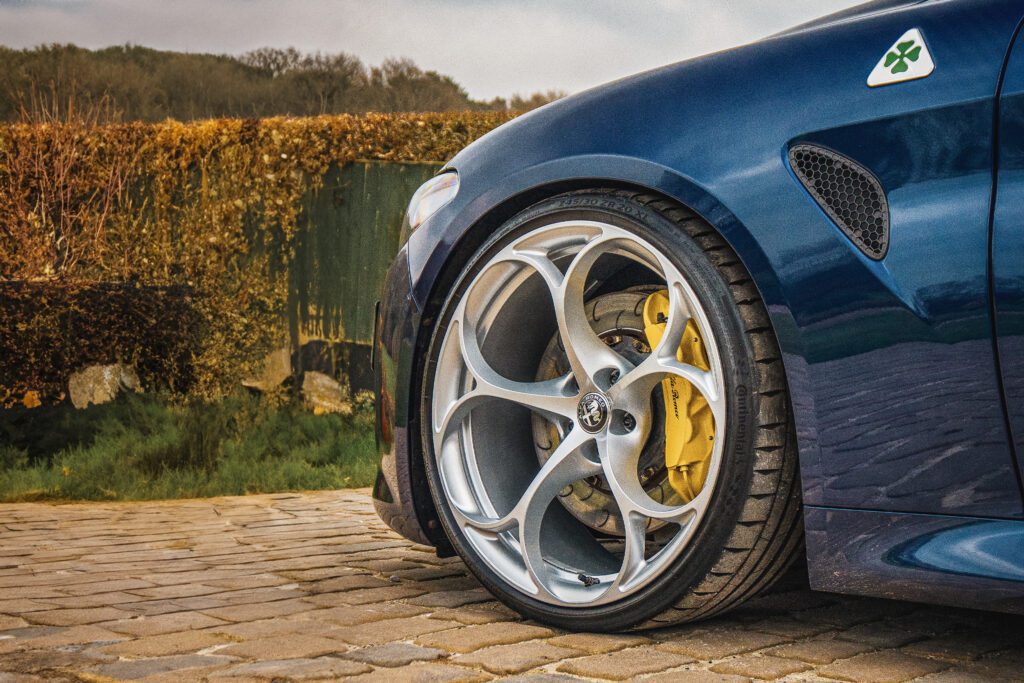
Wheel Spacers are without question one of the easiest and most cost-effective ways of improving the look of your vehicle. By directly decreasing your wheels offset and pushing them further away from the centre of the car, spacers can help reduce unsightly arch gaps, offering an aggressive looking setup.
But did you know, wheel spacers can also be used to fine-tune the handling and behaviour of your car without breaking the bank? They are a great way of increasing your track width. On an FWD car, it may be beneficial to increase the track width on the front axle to improve turn-in capabilities and reduce understeer. While on RWD cars you may want to increase the rear track width to improve grip & stability at the back of the car. Most of our spacer fitments are available in a range of sizes.
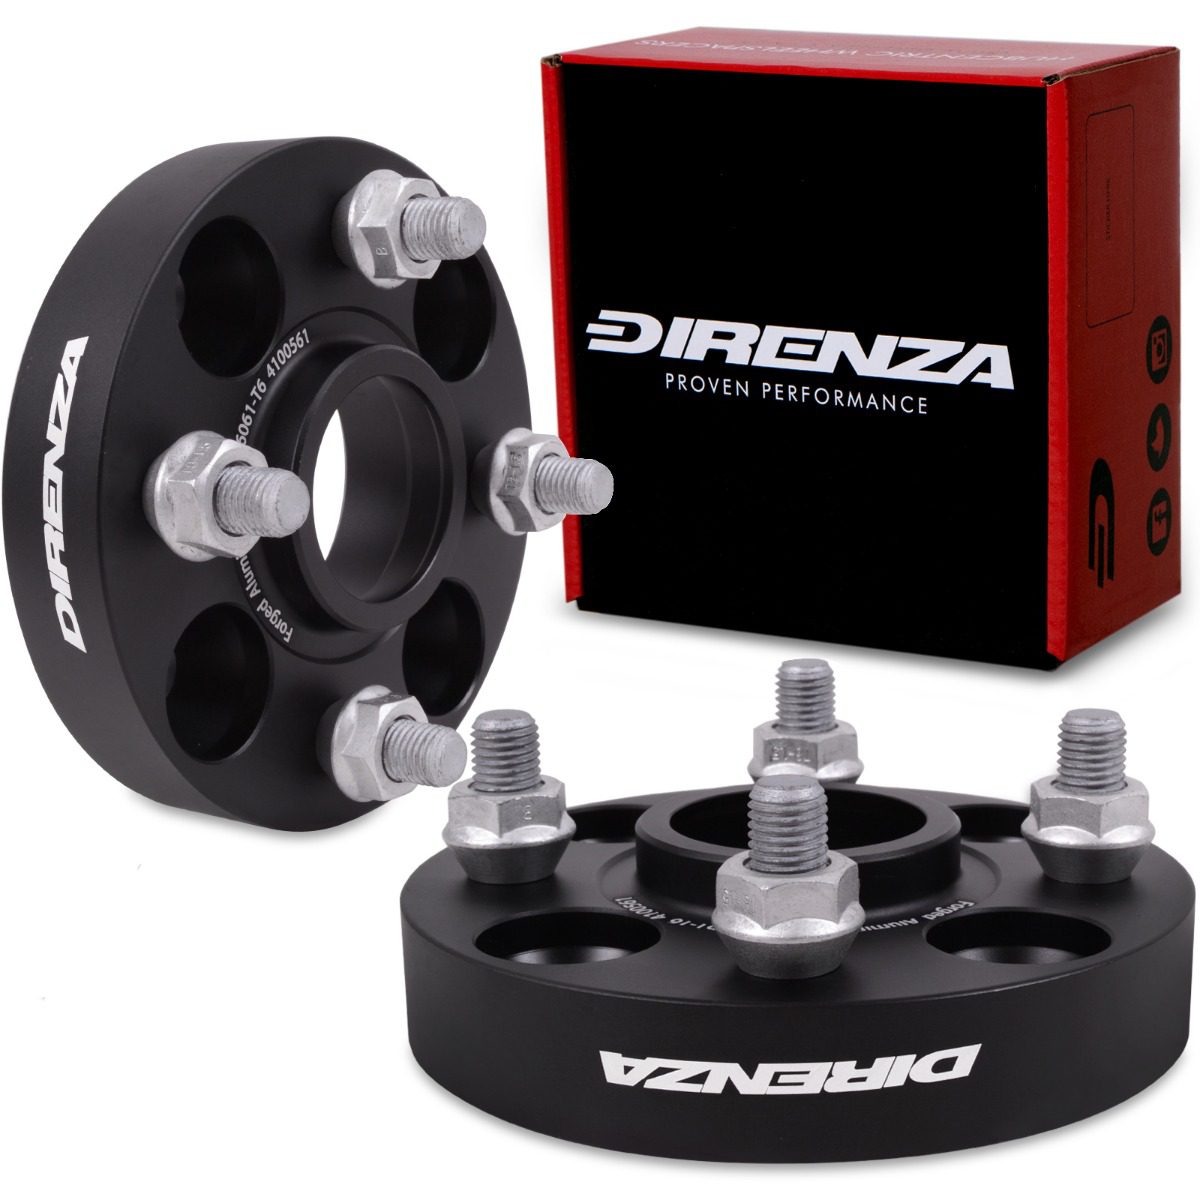
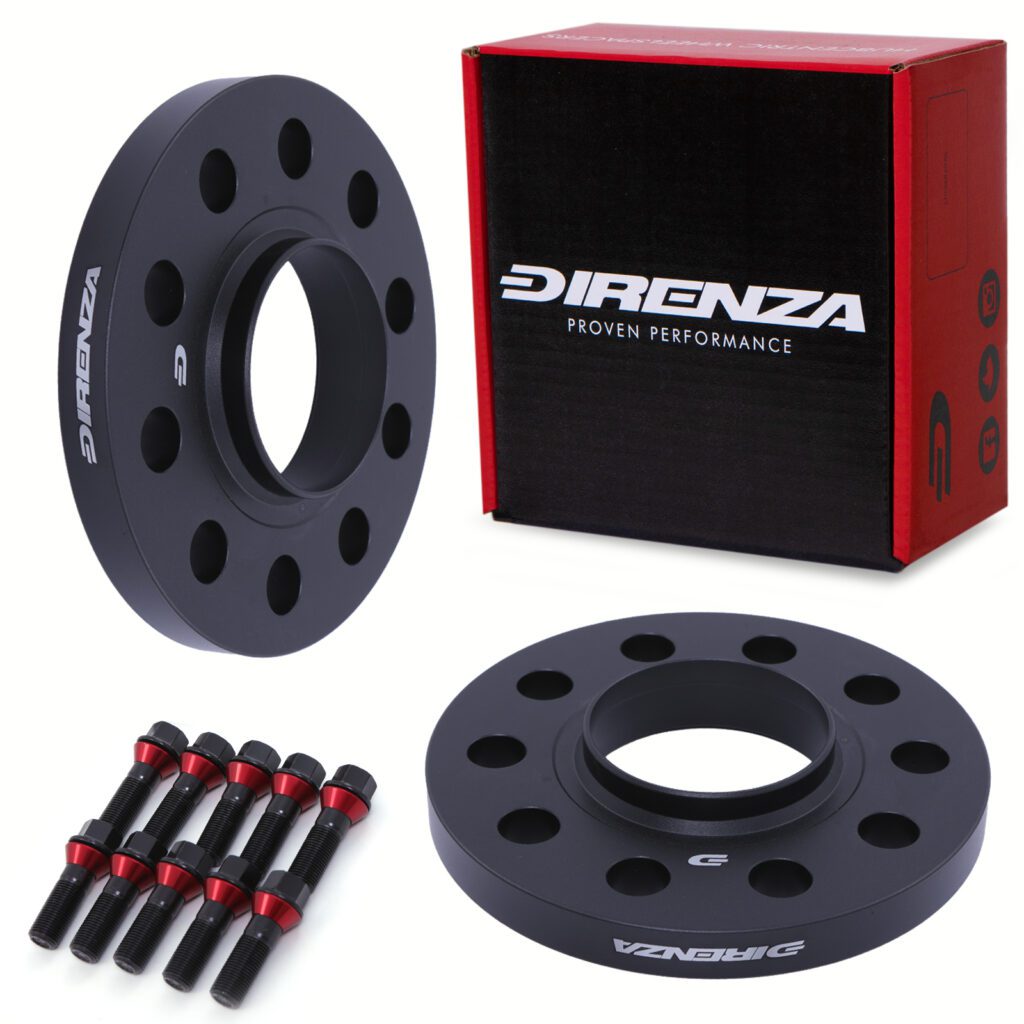
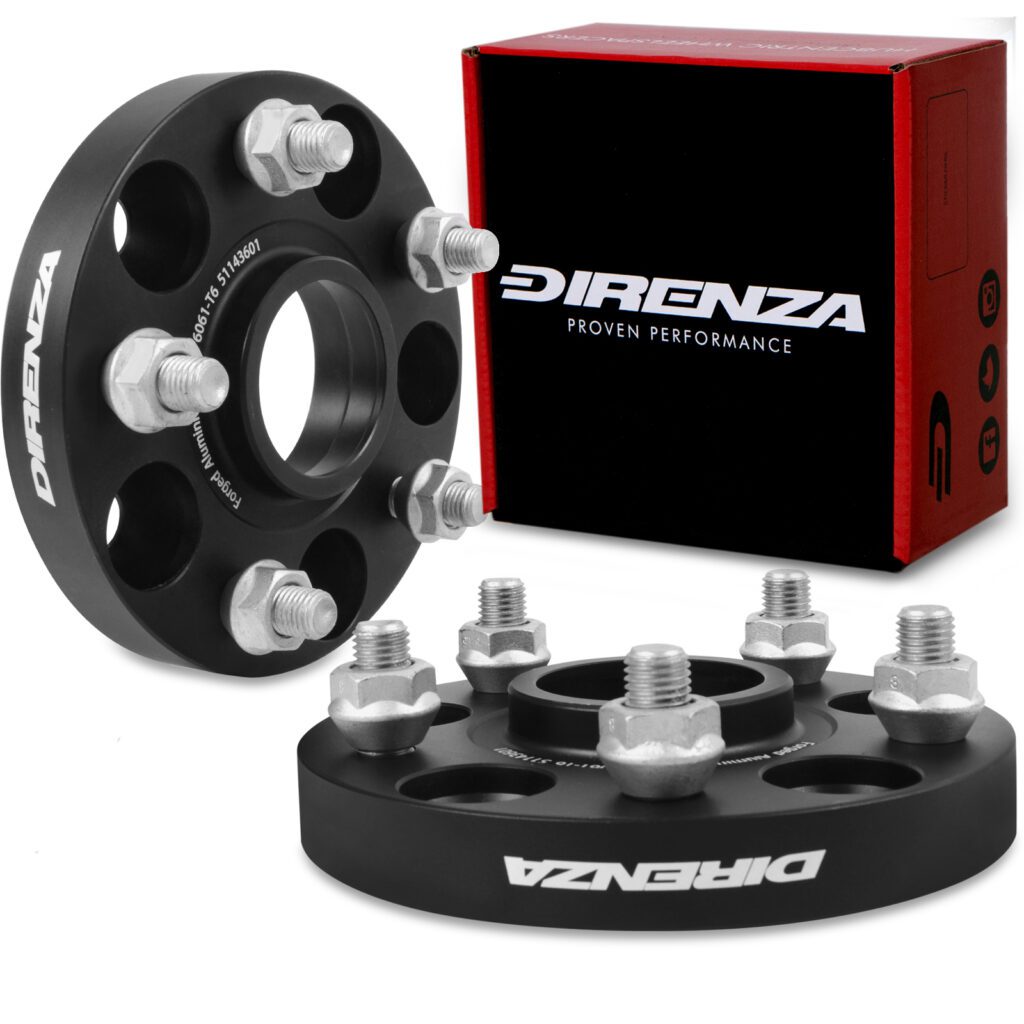
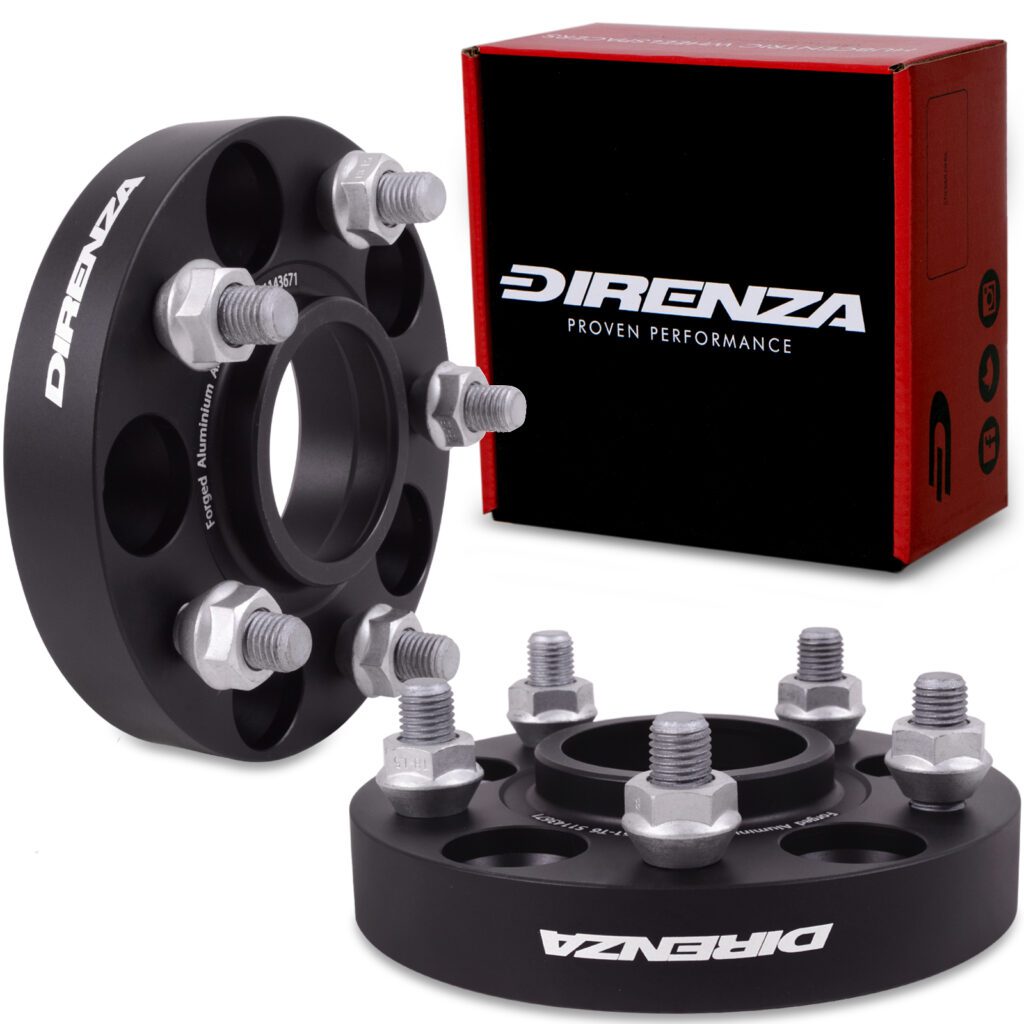
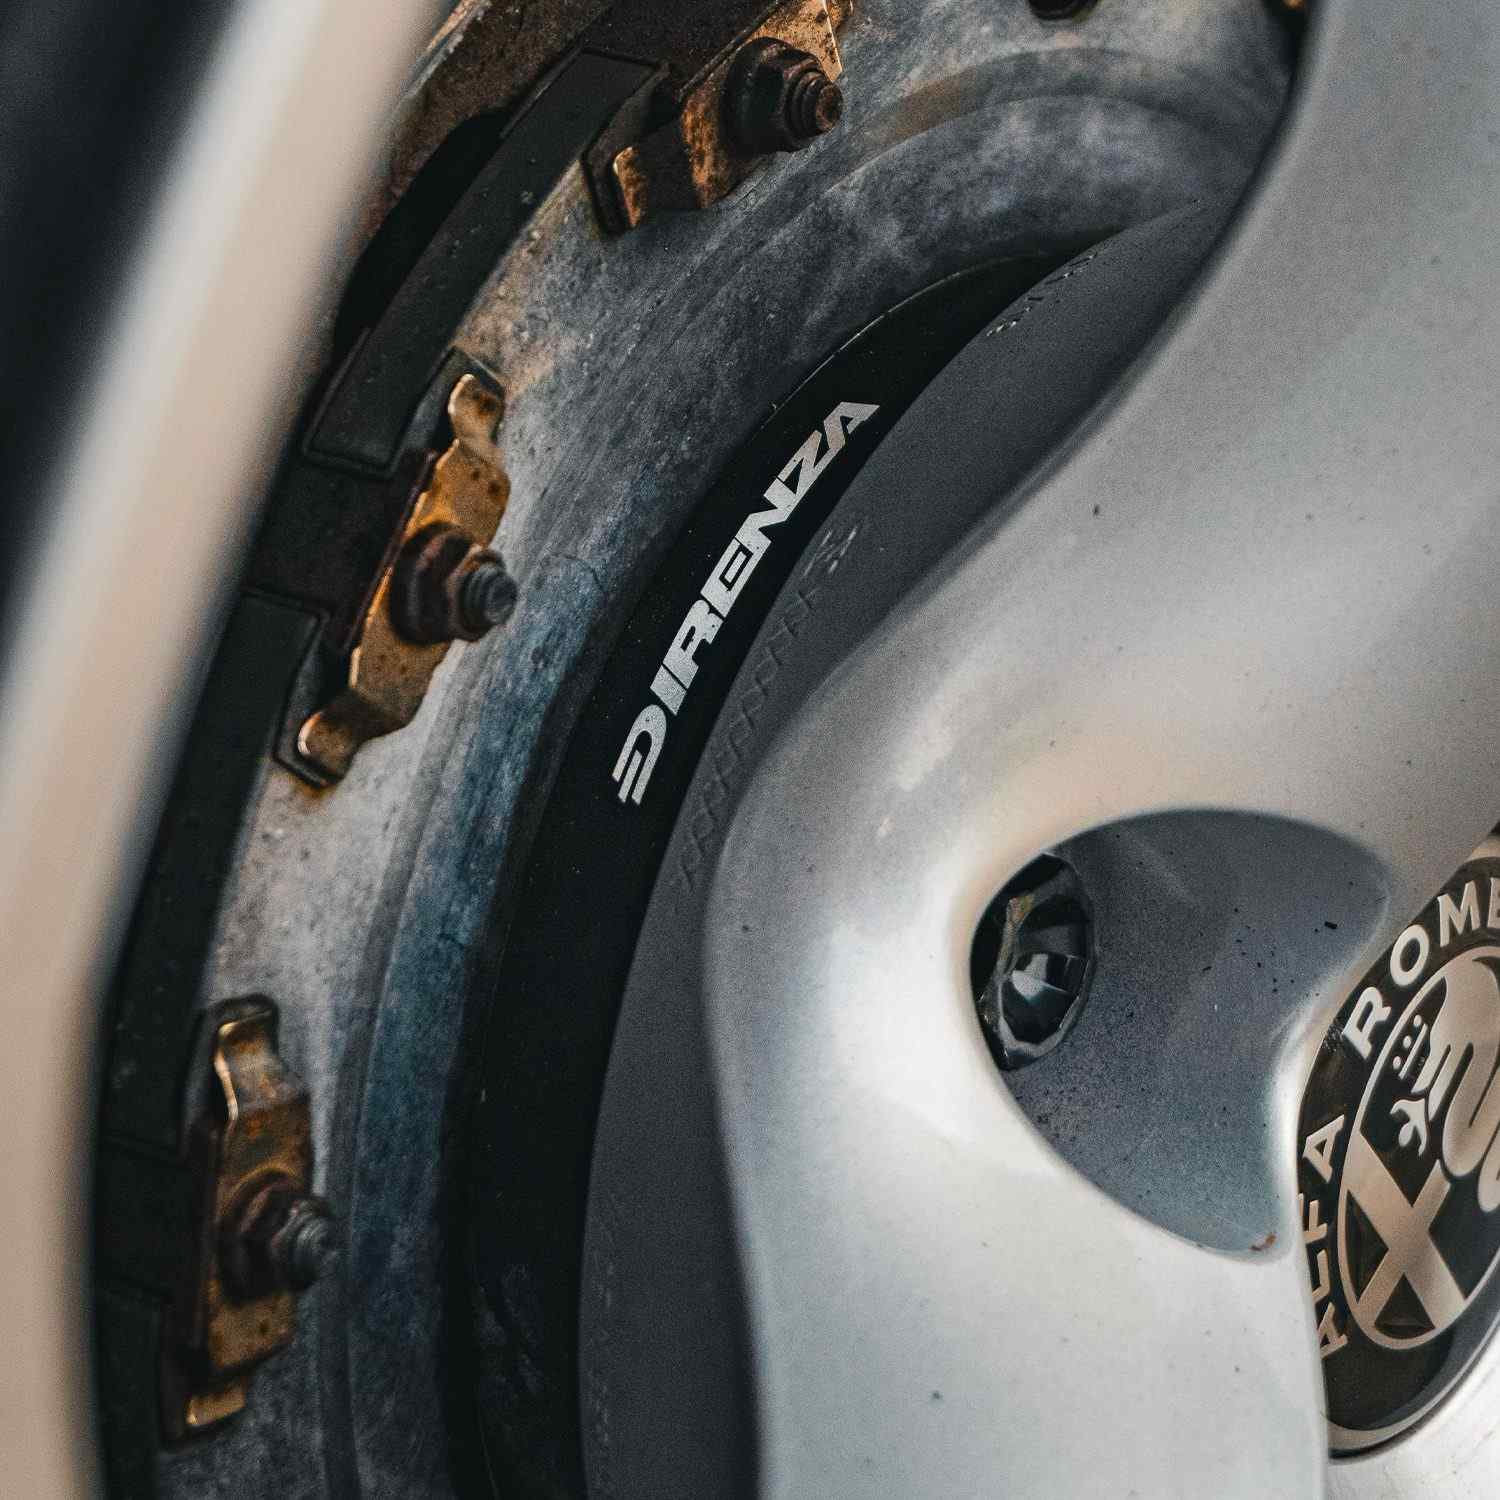
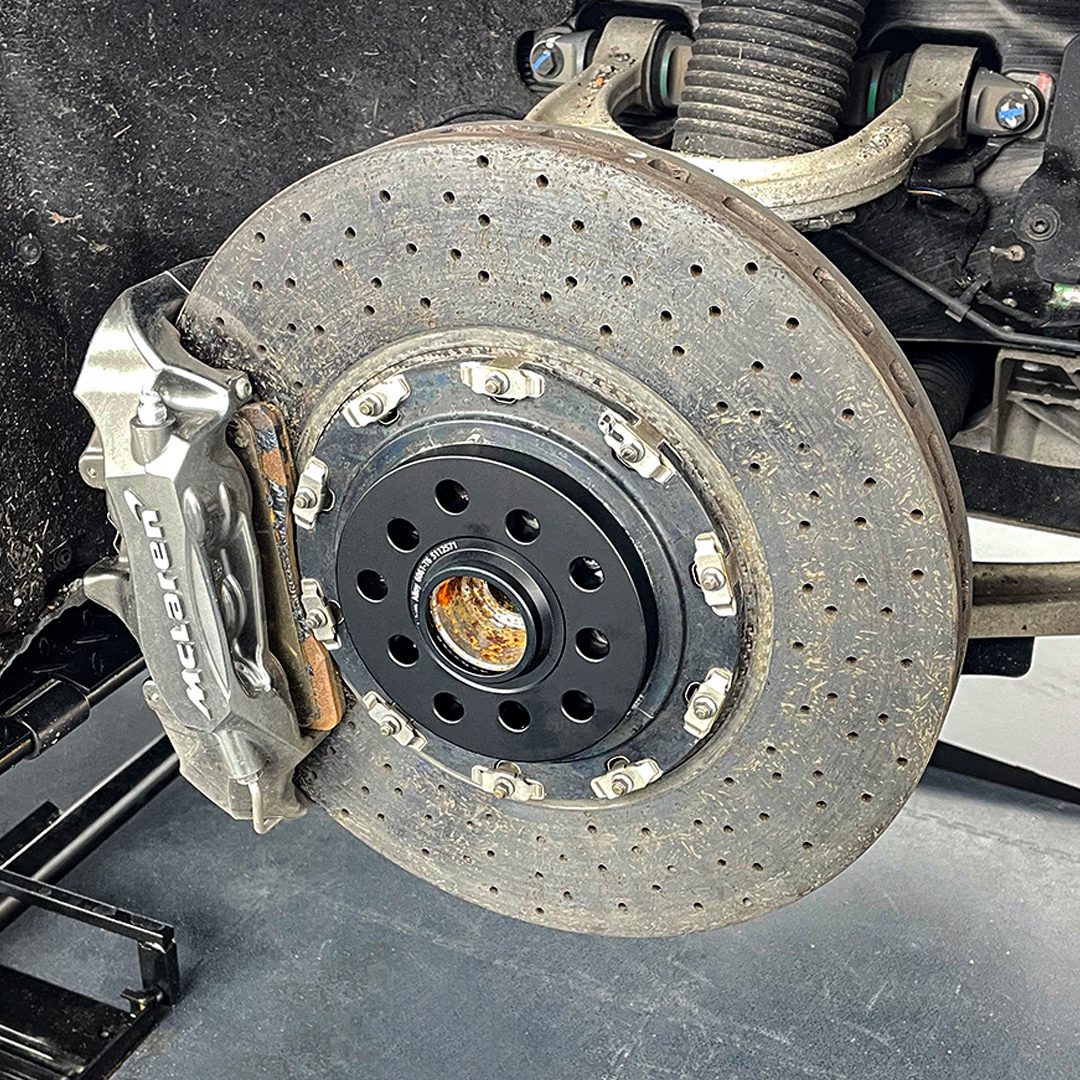
Hub-centric wheel spacers are designed to perfectly fit around the hub of your vehicle. Ensuring the weight of the car is being carried by the hub, not the studs or bolts. They are machined to perfection to prevent any movement or vibrations through the wheels. All Direnza wheel spacers are manufactured from high strength lightweight 6061-T6 aircraft-grade forged aluminium alloy, hard anodized for durability and corrosion protection.
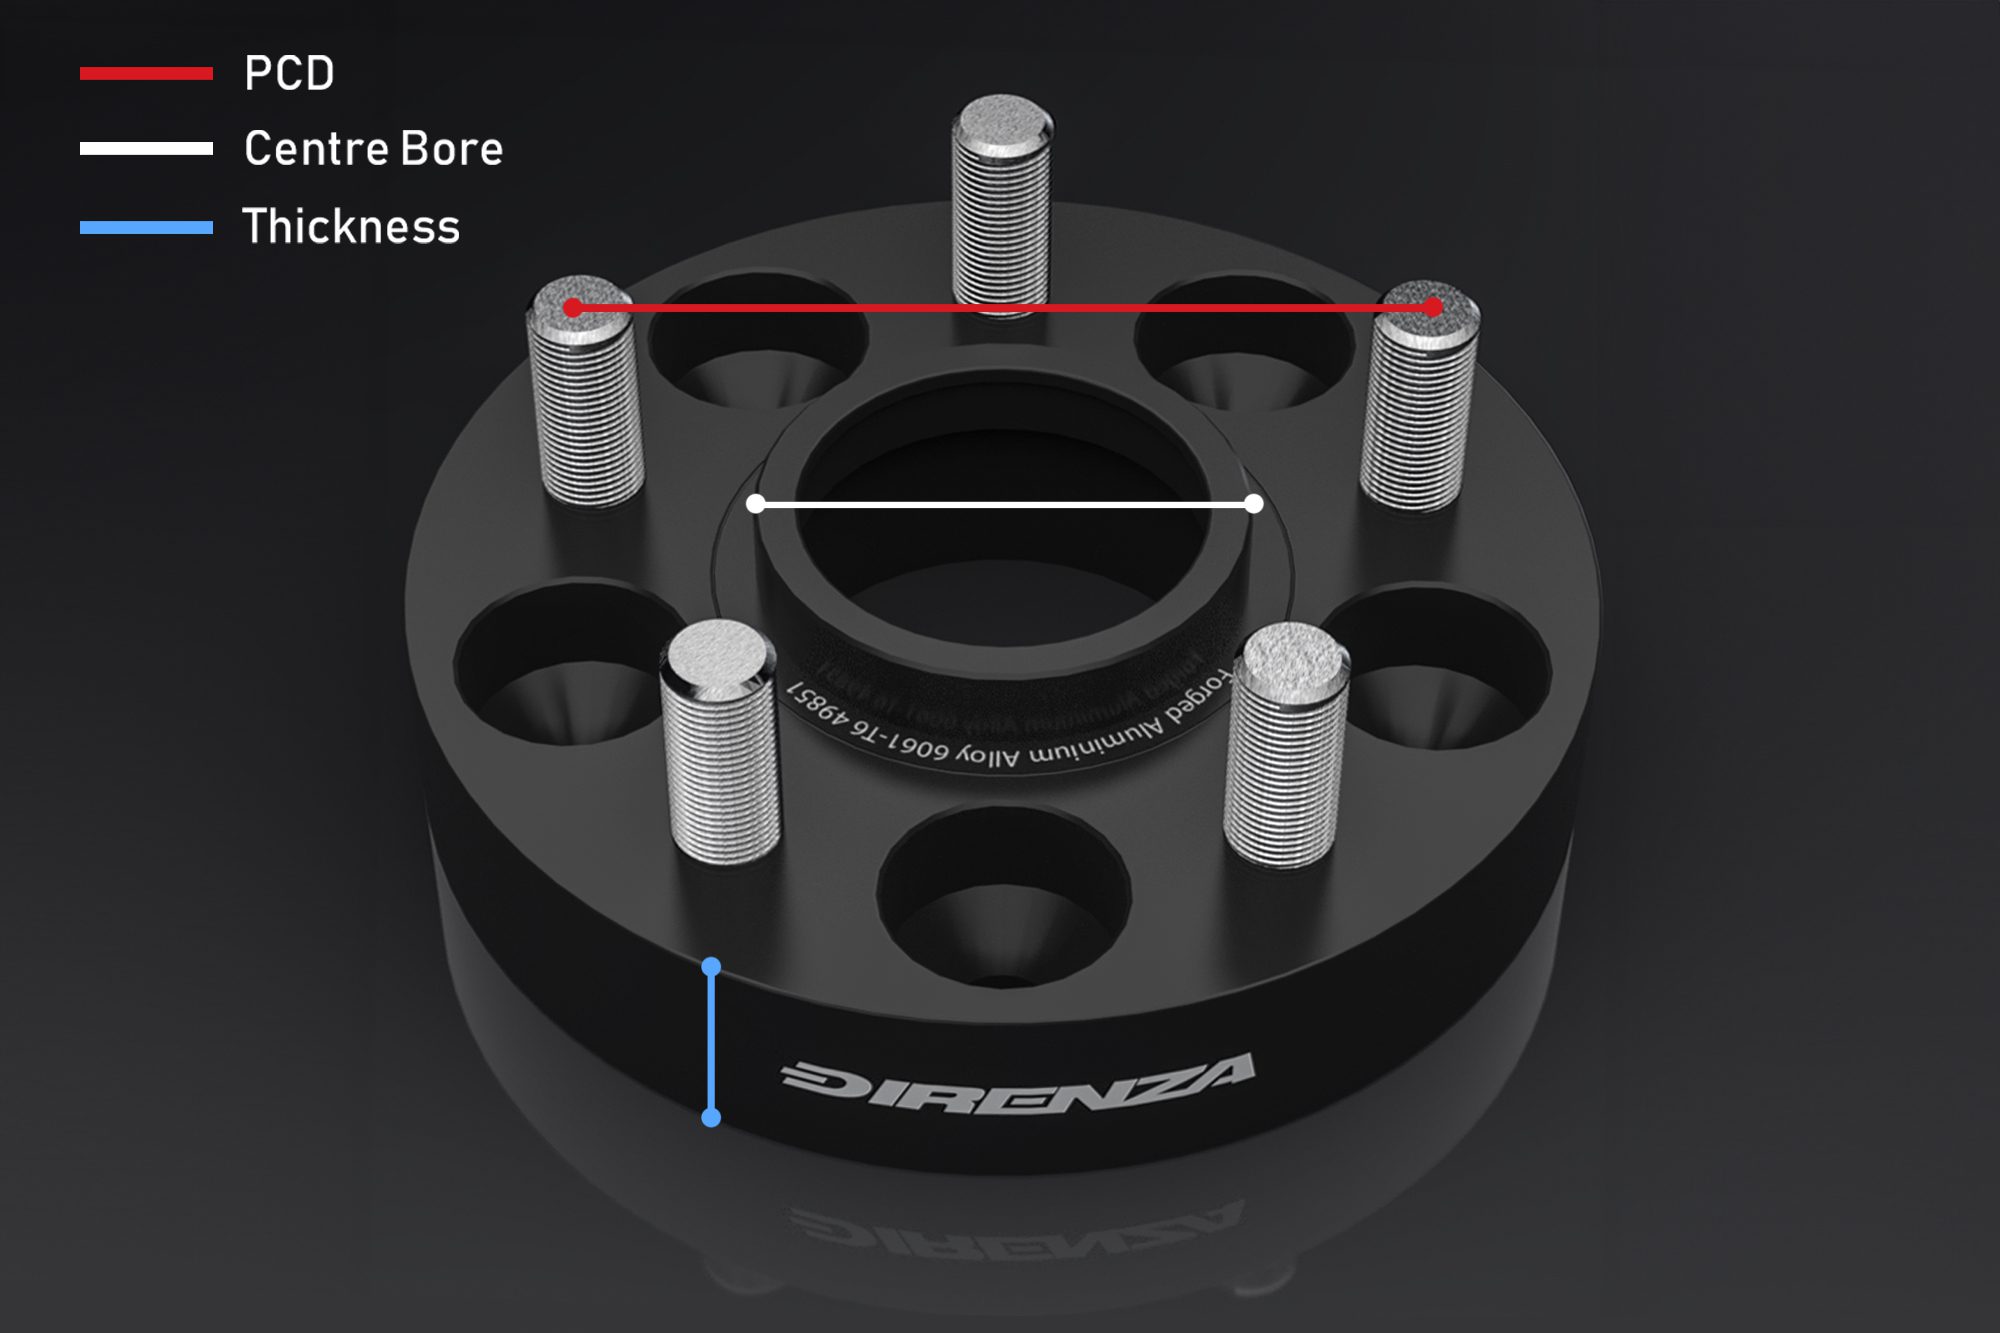
PCD stands for Pitch Circle Diameter. It is the bolt pattern specific to your vehicle. Many vehicles share PCD’s meaning one spacer can fit a variety of different makes and models. Some commonly shared PCD’s can be found amongst group owned manufacturers such as VAG which will share wheel fitment between most VW, Audi, Seat & Skoda models – These all tend to use a 5×100 or 5×112 PCD.
At Direnza, we offer a huge range of PCD’s, ranging from 4×98, 5×98 & 5×110 for Fiat, Alfa Romeo & Vauxhall models, 5×100 & 5×112 for Volkswagen Audi Group vehicles, 4×10⁸ & 5×10⁸ commonly used by Ford. Plus, 5×114.3, 5×120, 5×165 and much more, covering most vehicle makes and models!
The Centre Bore determines whether your spacer is hub-centric or not. It is the measurement of the large central hole in the middle of your spacer. This will fit tightly over your car’s hub. If incorrect, the spacer will not fit over the hub or be too large, resulting in excessive movement on the hub which may ultimately lead to vibrations through the steering wheel.
As touched on earlier, Wheel Spacers are a go to choice for car enthusiasts due to their range of uses and affordable price point. Quite possibly the main reason to install wheel spacers is for visual appeal. By reducing the gap between the face of the wheel and edge of your wheel arch you can create a sporty and aggressive look, improving the overall appearance of your vehicle.
Wheel spacers are a very affordable modification, as apposed to a new or custom set of wheels which would set you back hundreds, if not thousands of pounds.
Increasing the track width of your vehicle has other advantages too. By pushing your wheels further out in each corner of the vehicle you can improve high speed stability & the handling of your car by reducing weight transfer via body roll. This one of many reasons why you see race or high performance cars with wide set wheel and tyre setups.
Wheel Spacers come in two different fitment styles depending on the application, wheel bolts or wheel studs with studs. 15mm and 20mm spacers will generally come with extended hardware to allow for direct installation while thicker Wheel Spacers will require the spacer to be mounted to the hub before installing the wheel to the spacer with additional hardware.
1. Lift the car off the ground, this can be done one corner at a time, two wheels at a time or all four at the same time. How you do this will depend on the tools and facilities at your disposal as well as how many spacers you need to install. It is not uncommon to install spacers just on the front or rear axle.
2. With your car safely in the air remove the wheels and clean the surface of the hub with a wire brush to remove any corrosion. This will ensure a perfect surface for the spacer to sit against.
3. Place the Spacer over the hub and push on until the spacer sits flush against the hub.
4. If your kit has come with extended hardware place the wheel onto the spacer and install the extended wheel bolts as normal. If your vehicle uses a stud and nut setup ensure the factory studs don’t obstruct flush fitment of your wheel (most OEM alloy wheels come with deep wheel pockets meaning this shouldn’t be an issue). Once your extended wheel bolts or nuts have been installed torque the wheel to the manufacturers recommended figures.
5. For spacers of 25mm or more in thickness there is an additional step required, before installing the wheel the spacer must be directly bolted to the hub using the factory wheel bolts or nuts and torqued to the manufacturer recommended figures. At this point you may notice additional threaded holes in your spacer, this is how the wheel will be secured to the spacer. Use the supplied hardware to securely bolt your wheel to the spacer and again torque to the manufacturers recommended figures.
6. With all Wheel Spacers installed the car can be carefully lowered back onto the ground. Check and re-torque the wheel bolts or nuts after a short drive if required.